Showing posts with label organization. Show all posts

Wednesday, May 25, 2011

My stamps & dies books

Several weeks ago, inspired by this post, I made a couple of books to help me keep track of my stamp & dies inventory. I thought I'd share them with you, today.

The books are basically the same... They are both 6"x5.5" made with plain white cardstock and chipboard covers, attached together with a binder ring.

For my stamp book, at the front, I have a list of my inks (note, I'm expecting an order of new ink and once I get it, I want to redo this list, in the order of the rainbow.)


The following pages contain all of my stamps, stamped into it with black ink. I have my sentiments stamps sets...


And my images...


I find that this book really helps me when I'm looking for a certain stamp, or just basically reminds me of what I have.

For my dies book, I have my alphabet dies...


...my shaped dies & punches...


... my embossing folders...


... and my impression plates.


Again, this helps me to keep track of what I have. On each page of the book, I've labeled what everything is.

Another cool thing that I can do with these books is use them together, to see what stamps fit with which dies...

For instance, I was thinking of using the top image of my SU! Bliss set...


And wondered if it would fit on my Mat Stack #5 die.


So I took the page with my die and layered it over my stamped image, like this.


And could see how well it would fit.


Thanks for looking!

Thursday, February 24, 2011

storing inspiration.

as scrappers, we get inspiration from numerous sources - magazines, clothing, websites - anything! so how do you store all that inspiration?

i mainly get my inspiration from websites - blogs, manufacturer websites, home decor websites and kit clubs. for the most part, i rotate between the same few websites so i usually remembered where i saw a particular image. but a few months ago, i decided to give tumblr a try to help me store all these websites anyway. tumblr is a blogging tool that enables you to post text, images, URLs, videos, etc. to your blog. you can then follow other tumblr sites and repost any images, etc. you see on other blogs, to your blog.


now, i fancy myself as being pretty technologically savvy, but for some reason, i could never get the hang of it. i tried and tried and tried, but for some reason, i could never get things to show up the way i wanted them to. so i reverted back to just bookmarking websites.

until a few days ago.

pinterest started popping up on scrapbooking websites as another website like tumblr. the difference between pinterest and tumblr is that you can sort your links on different boards - kind of like different bulletin boards. so you can have one for scrapbooking, one for home decor, one for recipes, etc. which for an organizational nut like me, is heaven. like tumblr, you can follow other people's boards and repin anything you see on their boards to yours.


the way it works is simple - once you get started, drag the bookmarklet to your toolbar. (don't worry, if what i said makes no sense, it's one of the steps in the set up process!). as you're browsing the web, simply hit the bookmarklet on any image you'd like to 'pin'. it will then ask what board you want to pin it to, and voila! it's stored for future reference.

one of the best features though, is the search function. you can type it anything - say, gift wrap - and up pops other people's gift wrap boards, or pins. you can then look through their links to see if anything appeals to you. for example, when i typed in scrapbooking, i got 1,309 pins and 401 boards. talk about inspiration!

the only catch with pinterest is that you need an invitation to get started. so if you're interested, shoot me a pm and i'll hook you up. i only have a limited amount of invites, though! oh, and if you want to see my pinterest site, check it out here.

how do you store your inspiration? a binder? bookmarking? a blog? i'm interested to hear!

Friday, December 24, 2010

A new addition...

... to my scrap space.


For several years, I've sold my cards at Winkler Bible Book Shoppe and at Morden's Heartland. When I started doing this, my husband helped me make some card stands to display my cards.

Well, this month, I decided to stop selling cards, because with working, I just really didn't have very much time to make them for sale anymore.

But what to do with my display stands?

Why, add them to my scrap space, of course!

I painted them beige to match my space. I placed them under my shelf on my table, against the wall. Then, I filled them with stamps and punches.


My hope is that by having these things in front of me, I'll remember to use them on my projects.

Thanks for looking!

Thursday, November 4, 2010

Patterned paper storage

For years, I've been storing my patterned paper in some winter boots boxes that I cut down and covered with kraft paper. I liked that they fit well on my shelf and that I had it sorted by manufacturers, but I found lately that my paper was curling over and I didn't like accessing it from the side.

At my garage sale in September, my friend had brought a bunch of hanging file folders to sell and told me I could help myself. I took all of the legal sized ones that she had, thinking of a new patterned paper storage idea.

I went to Staples and bought a legal sized file folder container that came with eight more file folders. I bought it home and used it like this:


Once again, I sorted my patterned paper by manufacturers, in alphabetical order. This system works well for me, because I have a good memory for who makes which paper and I like my lines sorted together for ease of scrapping.


I printed up circles that fit my 1 3/4" circle punch on my computer, with the manufacturer's name in each one. I punched them out, then attached them to a scalloped circle that I punched out of old sheet music. These a stapled to a 3x12" piece of cardstock, from my scrap stash.


I placed these in the folders, behind the papers of that brand. I have them staggered so I can read them easily, but they can be moved if I need to accomodate a new brand.


How do you store your patterned paper?

Wednesday, September 22, 2010

to purge, or not to purge.

continuing with my post last week about organization, i thought today’s post would be all about purging. fitting, since i’m in the midst of doing this right now, and because i am by nature a purger. my father in law jokes that my mother in law would take the newspaper out of his hands while he’s reading it just to recycle it. i’m the same way!

if you haven’t seen it already, this is my scrap room. and yes, that is pretty much ALL of my supplies.
i don’t think i could function if i had too much stuff. i would never know what i had, and so, undoubtedly things would sit for years before i remembered. and by then it would be ‘out of style’ so i’d never use it anyway. so here are some tips i have to keep that stash to a minimum (and thus, clutter!).

1. only buy what you’ll actually use.
this is a biggie, and one that i’m still learning. sounds simple, but yet it’s so hard. that cute pp you see in the store? those adorable flowers? that ribbon?! it’s hard to say no! but before you put it into your basket, think about each item practically. will i actually use it? are you a stampaphobic, but find yourself coming home with stamps just because they’re so cute, and you MAY use them.....someday? i know i’m definitely guilty of that. do you find yourself with loads of pink when you have boys? or maybe you can’t resist buying all that cute themed paper, but your kids are all grown up. disregard how cute it is and think practically.

2. audit yourself.
a regular trip to mss starts off with a tour of the new items section, where i most likely load up my basket to the brim, then walk through the rest of the store. repeat at least three times. then before i go to the register, i go to the very back, put my basket on a crop table and reassess. because i’ve now been in the store for at least an hour, i’m bound to not remember half the things in that basket and have undoubtedly picked up a lot of similar items. do i need 3 different kinds of teal ribbon? 6 sheets of grid paper? 10 different alphas, 5 of which are brown? aside from easing by conscience, i find that it helps cut out about $30 worth of supplies and things you probably won’t use.

3. purge regularly.
i make a point to purge AT LEAST twice a year. once in the fall, and once in the spring – right before SSD. i find that knowing SSD is coming up is a good motivator. i know i’ll be buying a lot of new product, so it’s the perfect time to make space and get rid of the old. plus i know there will be a garage sale, which is extra motivation for me to make some money off my stash. (see below).

4. make that stash work for you.
like i said above, i purge before each SSD so i can put things out at the garage sale there. if you’re lucky enough to have an LSS near you that holds regular garage sale, it’s totally worth participating in. selling stuff you don’t use to buy new goodies?! heck yes! a lot of the time, i only spend as much as i make, so i leave with nary a dent in my bank account.

5. budget!
i know a number of women who set aside scrap budgets for themselves each month. while i don’t do this, i think it’s a great idea to keep your spending under control, and make yourself really think about whether or not you actually need something. if you know you can only spend $30 this month on supplies, you’re more likely to only buy what you LOVE.

6. no space? no deal.
i’ve also heard of women who use the rule – if you don’t have space for it, don’t buy it, or make space before you do. i think this makes perfect sense. why would you buy more paper if you don’t even have a place to put it? this forces you to get rid of the old stuff you’ve been hanging on to.

so tell me - do you purge regularly? do you keep everything? what kind of tips do you have?

Friday, April 23, 2010

A scraproom update

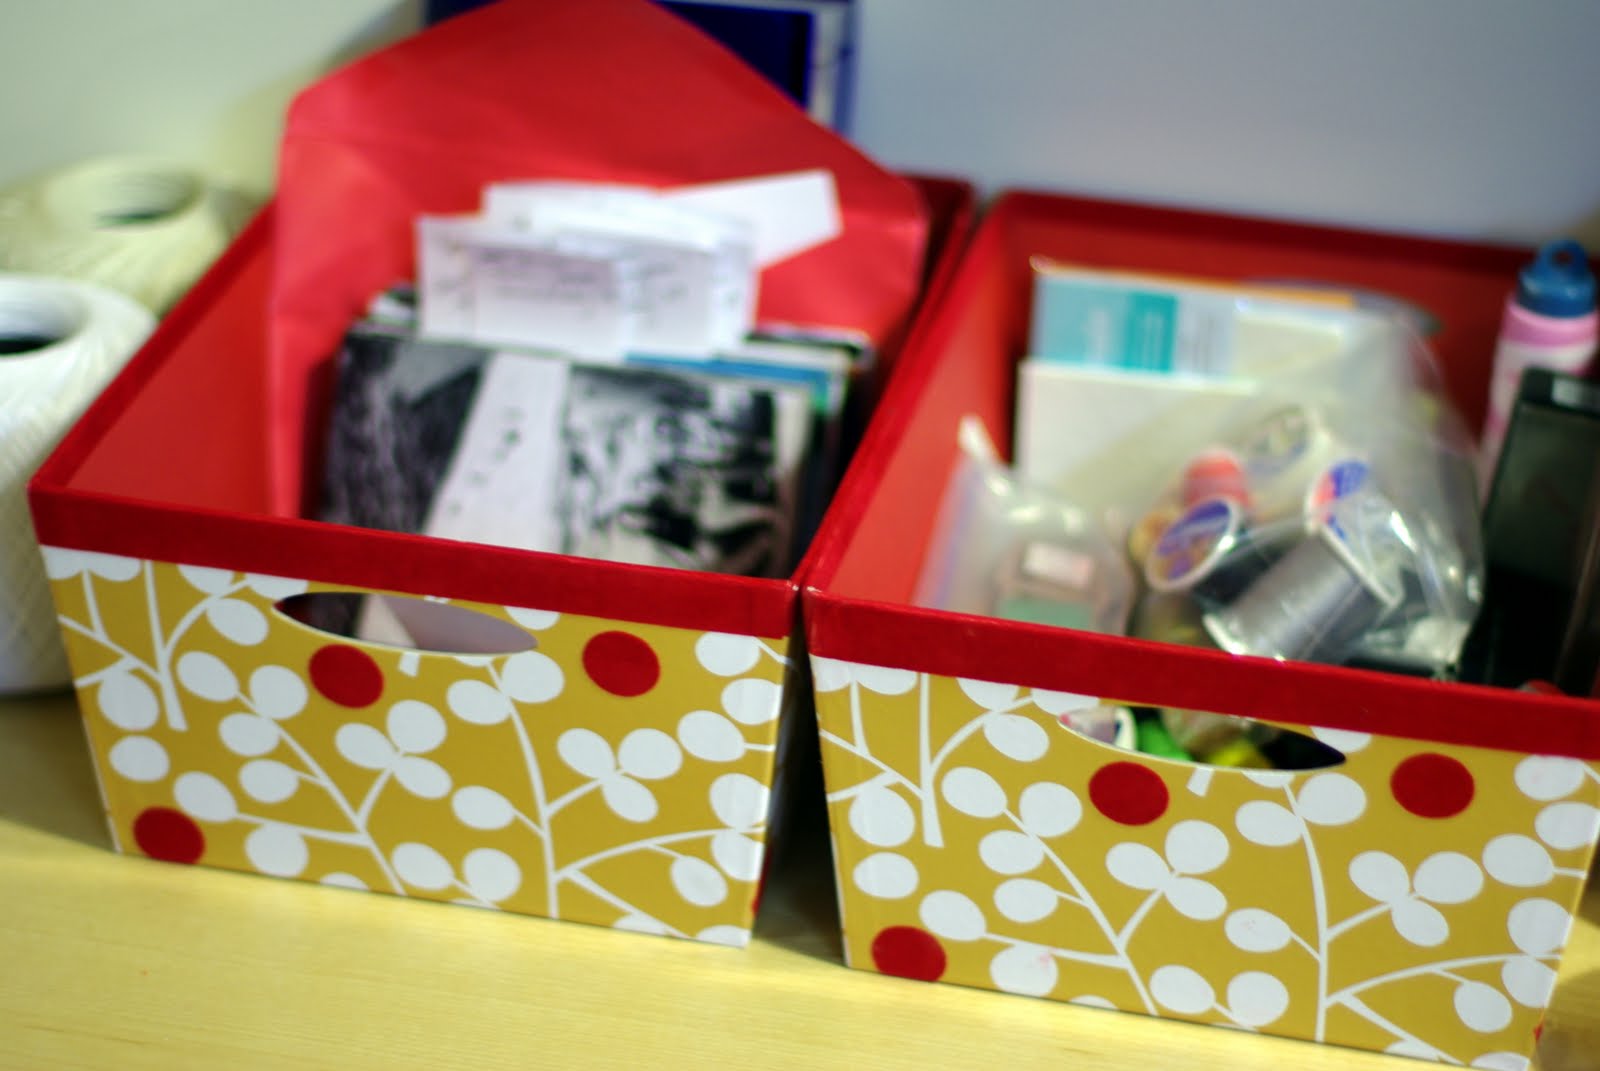
The day I posted pictures of my scraproom here on the MSS blog, I went shopping with my friend at Home Sense and spotted these beautiful boxes. I loved the pattern on them, the colours and the fact that the red is flocked. I thought they'd make a wonderful addition to my scraproom and do you know what?

I was right.

Take a look:


So the baskets are gone. I'm using one for photos & ephemeria, one for tools, ink pads, adhesive, etc and the third one for embellishments and journaling tags.

Thanks for looking!

Friday, April 16, 2010

Leigh's happy, I mean, scrappy place

Well, I need to start off by saying that there's nothing quite like a week of posting DT scrap spaces to get me to clean up my space! (And it was so well timed, too! When I started cleaning up my space, I took the time to go through all my stuff and set it aside for tomorrow's scrappy garage sale at Super Scrap Day.)

Okay, with that said, here's my space. It's located in the north west corner of my basment and is close to the computer, a fact that I love.


I have some shelving units which hold my stuff...


First shelf, from top to bottom: boxes with ribbon, old alphabet stamps (wooden and foam), envelopes, cards, etc. Then some 8x8 completed albums and a basket of punches and a really long stapler. Beneath those, my 8.5x11 albums and at the bottom is my daughter's scrappy stuff in a basket.

On the second shelf, on the top shelf, I keep my acrylic stamp binders, embossing powder and some containers with buttons and other little embellishments. Beside those is a basket which holds extra adhesive, scissors, pinking sheers and my CM circle cutting system.

Below that are my cropper hoppers that hold my cardstock, the storage containers I made years ago with dividers for my patterned paper (sorted by manufacturer) and my binders that hold most of my alphas and some extra rub-ons, stickers, etc.


I sort my alphas by colour and slip them into 8.5x11 page protectors with a sheet of white paper in them. This way I can flip through the binders to find the perfect alphas for my layout. I have one binder with black and brown alphas and another for my coloured ones.


On the next shelf, I store some things in rubbermaid containers: my wood mounted stamps and ink, my acrylic paint, cardstock scraps (& my heat gun) and some older Scenic Route and Heidi Swapp chipboard letters that I can't bring myself to part with.


On my table, I keep an according file folder filled with patterned paper scraps (also sorted by manufacturer), some baskets, my paper trimmers and an IKEA organizer.


In the baskets, I have one for photos & bits of ephemeria. I try to keep the photos sorted and in chronological order, but sometimes this gets away on me. Another basket is for journaling cards and paper embellishments and the third holds tools I use often, some ink pads and adhesive.


In my IKEA organizer, I store 8x10 photos, my large ruler, smaller rulers, scissors, white cardstock and pens. There are also some notes or ideas for layouts. In the basket beside it are embellishments for layouts. In the tiny bowl are small embellisments, like pins, brads, etc.


I store my sewing machine beside my stool, under the table and pull it onto the table when I need it.


Thanks for looking!

Wednesday, April 14, 2010

marcy's space

a little bit has changed from the last time I shared my space (i thought i'd be out of this room by now... and in the loft... but, nope. still here). the floorplan has stayed the same, but some cabinets and general organization has changed. and because i was getting ready anticipating my new space... this room has spilled a little into what it will be used for next... an office/den. right now it serves dual purposes. it's a scrapbook room transitioning into an office.

anyway.

welcome to my space.

the most awkward space in the house (now that we got rid on the bermuda triangle upstairs) is the bump out. the mister hates it when i call it that. but what else do you call it? it's the jutting-out-ledge-type-thing-to-make-room-for-the-stairs-thing. anyway. i have big plans for it when this room is solely an office. but for now it's just wasted space. you definately can't reach that far back into the corner. so for now my cardstock, ledger paper, christmas papers and page protectors live here.

the closet has changed slightly from the last post. it now houses only office-related things. no scrapbooking supplies in there.


it's super hard for me to keep my work area clean. ideally i like to have only my tool caddy and a bowl of brads on there. but i also have two little containers that hold various odds and ends... hair bands and bobby pins, broken earrings i'm supposed to fix, etc.


i love this counter. it's old. i love working on a glass top (i use my slice right on there!) but it's super awkward! you really can't get anything from the top shelf in it because it's set so far back. i keep my current projects and items i don't need to get at often on there.

the bottom shelf now holds my patterned paper. i'm using my paper rack at the shoppe now. i found that i was flipping through my paper scraps (filed in a basket) more than flipping through the paper on the rack. inspired by karen russell's studio (i can't find the link to it right now though) i put my patterned paper in hanging files. the plan is, in the new space, to have pull out wooden drawers on casters under my work table so i can just pull out a drawer and rifle through paper. right now they're in the counter sideways and that drives me nuts. but oh well.

another thing i changed is that my patterned paper scraps, although still separate from full sheets, are now organized with those full sheets. so, october afternoon scraps, october afternoon full sheets, crate scraps, crate full sheets, and so on. the plan was that i could find a particular scrap easier this way... but i'm not sure. maybe the change just hasn't sunk in yet.


i still have my newest embellishments in a wire basket on the side of my counter. i liked that so much that i have a file for my new paper too. not that that stops me from hoarding though. ;)


this is the view from the closet/office. my space is right off the living room (which i love). the upper shelf holds loose embellishments (most of them in the doodlebug containers. on top of the lower shelf is my alphabets (excluding ki, making memories, american crafts and doodlebug) and a basket of stamps. also inspired by karen, i put the pages from my stamp binder in this basket. i found i just wouldn't flip through a binder. the rest of the shelf holds other stamping things (i'm sooo not a stamper!), those other alphabets, a basket of flowers, a basket of vintage paper items and other stuff.


we removed the drawers from this dresser forever ago and now use them (on casters) for under the bed storage. replaced with baskets it's the perfect place to store supplies for my other craft ventures. one basket holds label stickers. another holds book binding supplies. another ephemera. another card-making supplies. another metal tins. and so on.

my trimmer and typewriter have dibs on the top.


next to the dresser is a wooden tool cabinet. of course i painted it white. right now the top part is in storage. my little sewing station. the small drawers hold various sewing items. the largers ones hold etsy stuff and most of my punches.


so, here's where we are so far.


this other wall is probably the most different. i really needed most of the shelves of the expedit for my albums, so i needed to come up with something else for the majority of my supplies. this shelf used to be at the shoppe. i brought it home. painted it white (gasp!) and put my locker baskets in it. larger companies like making memories have a basket all to themselves. others share. i wanted to hang a grid of photos above the shelf, but i'm sure once i do that i'll change something else, so i'm just leaving it for now.


and that's it. my space.

i really would like to spend more time in it. i really would like to spread out a bit more. i really would like to get it moved into the grainery loft... but we're just not that far yet. i really would like to make this room an office/den.

but for now. it works.

(sorry for the watermarks... it was just far too many photos to change). ;)