(I apologize in advance for the not-so-great photos... the lighting in my computer room is pretty poor.)
The first step is to choose a journaling card that you would like to print on and measure the height and width of it.
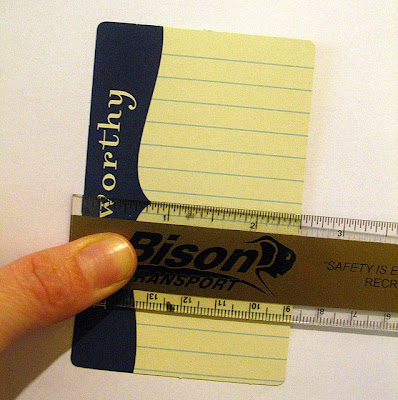
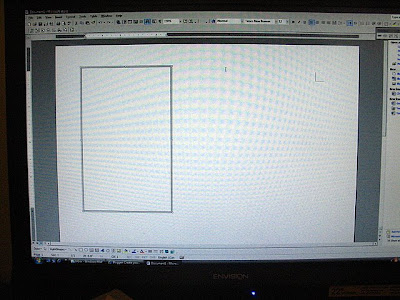
In Microsoft Word, I open a new document. Then I insert a text box, giving it the same dimensions as the journaling card.
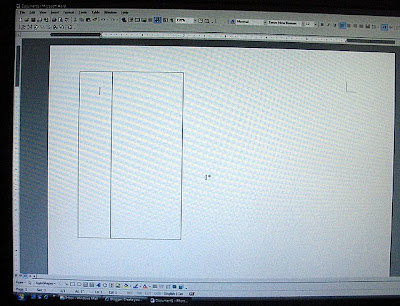
For my journaling card, it wouldn't work to centre my journaling on it because of the "newsworthy" along the one side, so I added another text box roughly the size of the widest part of the bracket to my first text box.
Then, I open a new text box, and for fill, clicked no fill and for line, clicked no line. I fit it roughly into the first text box on the screen and I type my journaling in it.
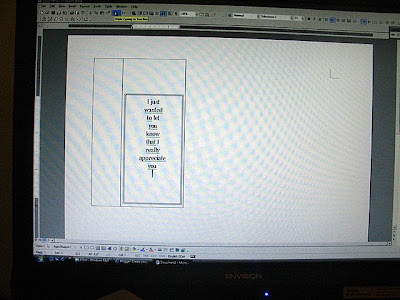
(Now, often, I try to fill all the lines on the journaling card, but here, I didn't have enough to say. So I added extra words for this part, which I would delete later.)
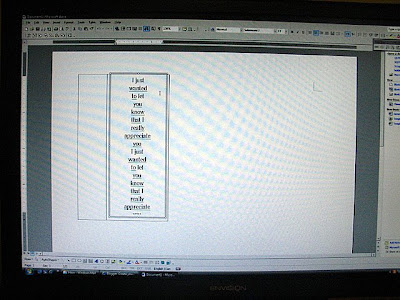
Once my journaling is written, I count the number of lines on my journaling card (15) and make the font smaller or bigger until I have 15 lines of text in my text box.
Once this is done, I click on Format at the top, then Paragraph. Under line spacing, I click Exactly and then beside that, on At:, I choose a number (I usually begin with a number that's the same as my font size.) Then I click OK. I keep doing this again and again, increasing or decreasing the number, until the text fills the space of the text box.
Once I'm happy with it, I print it out on white paper.
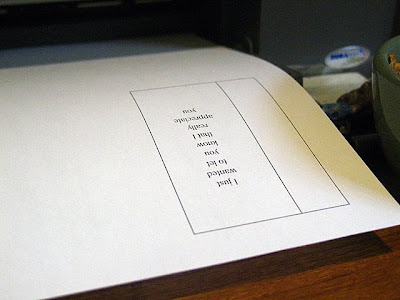
Then I take my journaling card and line it up beside the text I've just printed out.

Here, it wasn't quite lined up with the lines as much as I wanted it to be, so I went back to Paragraph and increased my line spacing number by .3.
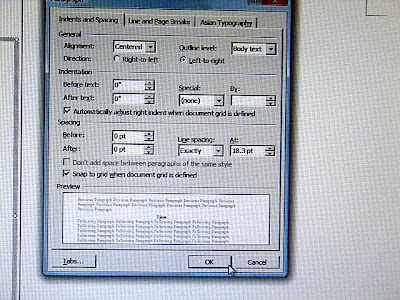
I then printed it out again and lined it up again. It still wasn't perfect, so I repeated the steps again, changing the spacing to 18.5. I printed it again, lined it up and was happy.
So, I adhere my journaling card over the text box. I usually hold it up to the light to see the text from the white paper through the journaling card to make sure it's in the right place.
I delete the text boxes with lines from my document (I don't want those being printed on my card) and I run the piece of white paper, with the journaling card attached, through my printer.

Now, I am ready to add it to my project, which in this case, was this card:
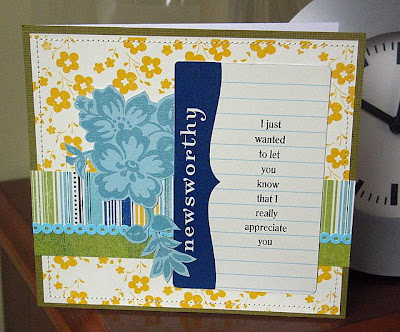
Supplies use: Bazzill cardstock, October Afternoon & Basic Grey patterned paper, a Doodlebug paper frill and an October Afternoon journaling card, all from the Shoppe.
If you have any questions or comments, please feel free to ask/leave them in the comment section and I'd be happy to answer them for you.

5 comments:
I always wondered how you ALWAYS have perfect journaling. I'll have to pop in for a lesson! Thanks for sharing.
didn't you know a magician NEVER reveals their secrets...lol..thanks for the tip..i always wondered how you did this..
I love this tip Leigh.
okay. seriously. I was just wondering exactly this. Awesome! Do you just use regular scotch tape to adhere the journaling card to the paper?
woohoo!!! love the step by step instructions... you made it look easy! I've always wondered how you get it so perfect!
Post a Comment