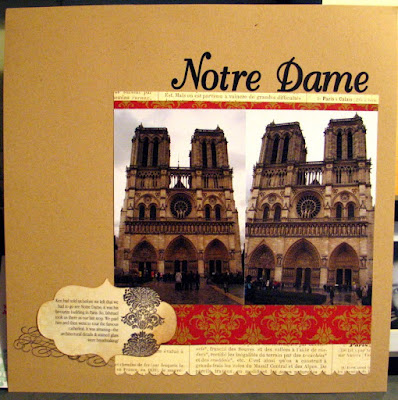
A few weeks ago, I was working on my Paris Album, for which I used primarily MME Lost & Found patterned paper and kraft cardstock. I was trying to incorporate some scraps for my journaling, so I cut a tag out with my Cuttlebug (using my Tim Holtz Styled Labels die) from a piece of Pink Paislee patterned paper. I printed my journaling onto the tag and added a stamped image.
However, when I added it to my layout, I thought that the journaling tag was a litte too "white" and didn't seem to go well with the other papers.
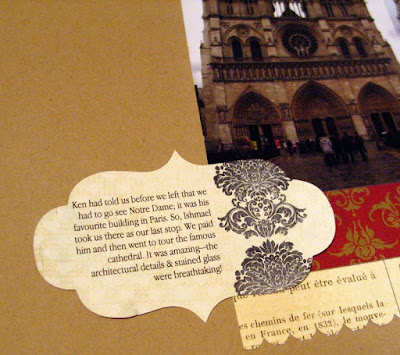
So, I took my Ranger craft sheet, my Ranger blending tool and my Tim Holtz Distress Ink in Vintage Photo.

I placed the tag on my craft sheet and inked up the blending tool. Then, using a circular motion (& starting on the craft sheet and moving towards the tag), I blended the ink onto the tag, working my way all around it.
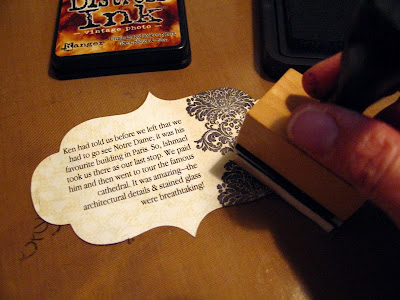
I also thought the tag looked a little plain on its own, so I decided to add some stamped swirls behind it. I masked off the patterned paper that was on the layout using a post it note and stamped my image a couple of times. (You'll noticed I flubbed a little-- a common occurence when I stamp!-- but I was covering that part with the tag, so I decided not to worry about it.)
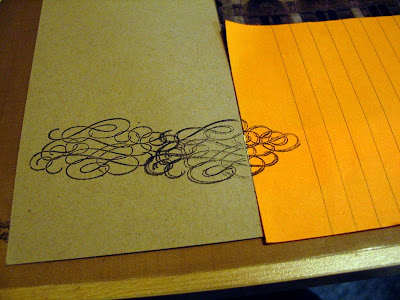
Then I removed the post-it note and added the tag.
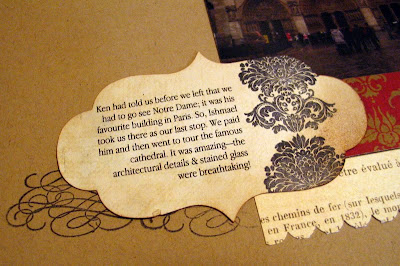
And here's the completed layout:
Thanks for looking!

2 comments:
Just love it! Thanks for the tutorial :)
I love the layout! I especially love that tag! Would you mind sharing which die cut it is? And I love how you stamped behind it to draw a lil' more attention. I love tutorials because I love seeing the process!
Blessings!
Post a Comment