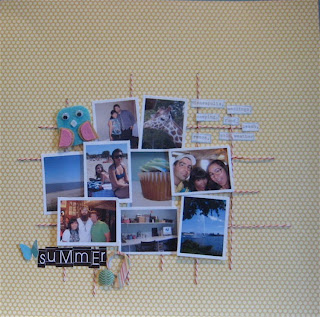

 One of the reasons I like using them is because I print my pictures at home and I can get more on a sheet this way. I usually make a collage on an 8.5 x 11 sheet of photo paper and print them together. If you've never made a collage before, it's pretty simple. I'll take you through the process in Photoshop Elements 6 for Mac:
Step 1: Open all the pictures you want to print in PSE.
Step 2: Resize each picture to whatever size you want. In my case, I resized them all to 2.25" x 3". To do this, go to Image>Resize>Image Size. Then change your width and height under 'Document Size'. So, my width would be 2.25 inches and height 3 inches.
 Step 3: A few things to note - the Resolution and the Constrain Proportions box. You'll want to ensure that all the pictures have the same resolution. I would recommend no smaller than 180. I usually set mine to 180 (if it isn't already defaulted), or 300. I'll come back to why this is important later. You also want to ensure the 'Constrain Proportions' box is checked, otherwise your picture will be all wonky when you resize it.
 Step 4: Once you've resized all your photos, open up a new document by going to File>New>Blank File. A box will pop up. Here, you want to set the following:
Preset: U.S. Paper
Size: Letter (if using an 8.5" x 11" sheet of photo paper)
Width: 8.5
Height: 11
Resolution: This must match the resolution you set your pictures to, so either 180 or 300. In my case, it would be 180.
 If you accidentally forget to match the resolution of your pictures, you'll end up with pictures that are either way too big, or too small. I've definitely done this a few times and it's super frustrating!!
Step 5: Drag each of your pictures onto the new blank file, by selecting each and literally dragging them onto the canvas. Word of caution - if you've done any post-processing on your pictures, make sure that you flatten the image before dragging or it won't work!
 Step 6: Save your image as a .jpeg. You can now upload it to any online photo printing company and print it as a regular 8x10 picture. Or you can print it from home.
Now you're ready to print any sized pictures. I believe you can also make collages in Picasa, but unfortunately I only use PSE for any editing. If anyone wants to share steps for Picasa, feel free!

1 comment:
Great tutorial Flo - thank you!
Post a Comment